Vapor Barrier Installation Services Overview
Visitors will learn how local contractors install vapor barriers and how to compare service options in their area.
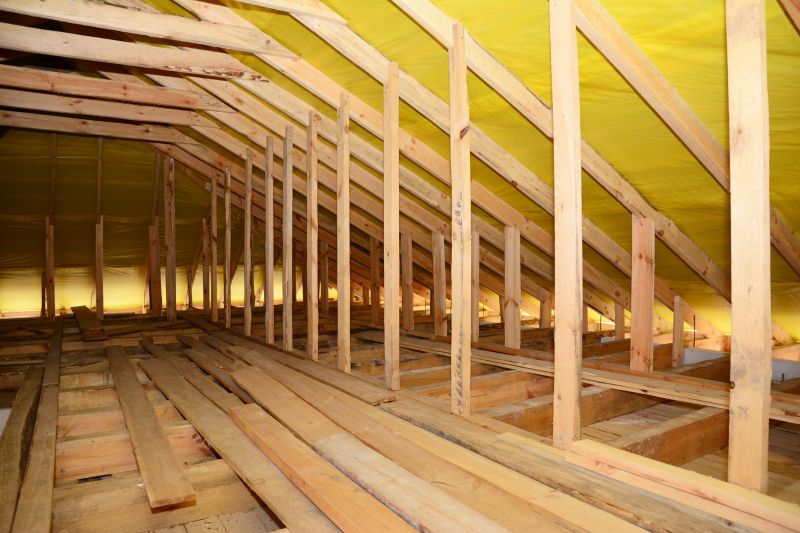
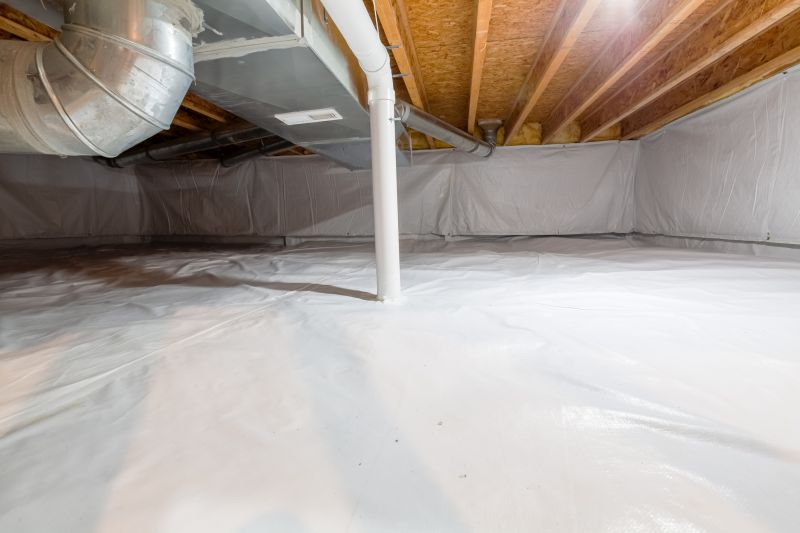
- - Homeowners seeking to improve insulation and moisture control in basements or crawl spaces.
- - Commercial property owners requiring reliable vapor barrier installation for storage or industrial spaces.
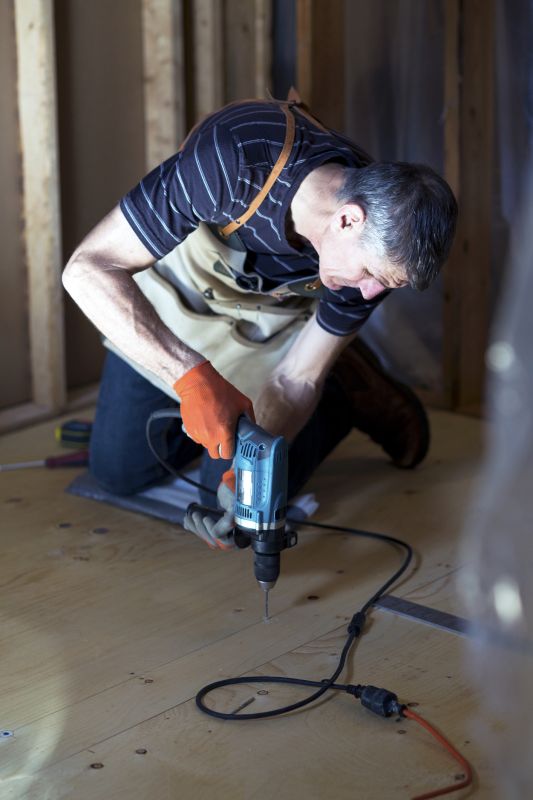
- - Contractors or builders looking to connect with local pros for professional vapor barrier setup.


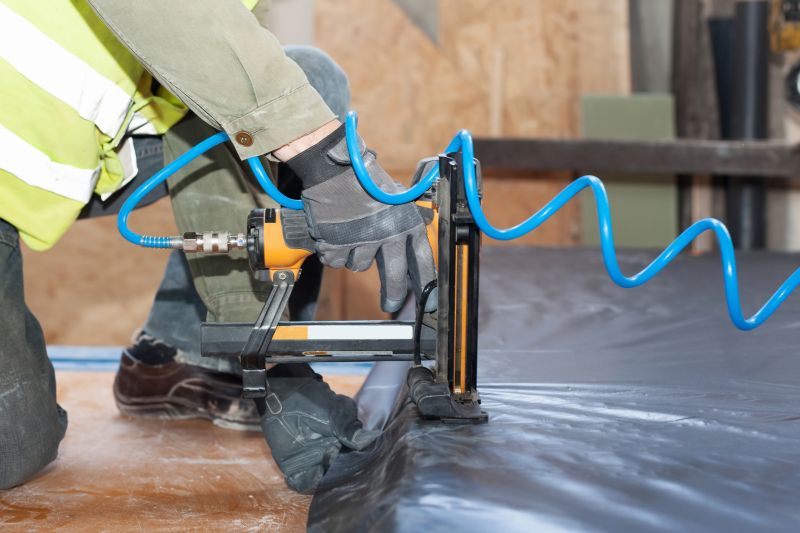
Vapor barrier installation is an essential step in protecting properties from moisture-related issues, especially in areas prone to dampness or flooding. This service involves placing a moisture-resistant barrier beneath flooring, in crawl spaces, or along foundation walls to prevent water vapor from penetrating the interior spaces. Property owners seeking vapor barrier installation typically look for experienced local contractors who understand the specific needs of their area and can recommend appropriate materials and methods to ensure effective moisture control.
Local service providers specializing in vapor barrier installation offer a range of solutions tailored to different building types and conditions. These contractors handle everything from assessing the property’s moisture risks to properly installing barriers that help maintain a dry, stable environment. Property owners can expect straightforward communication and professional workmanship from local pros who focus on delivering reliable moisture protection, making it easier to find the right partner for their vapor barrier needs.
This guide helps homeowners understand the key aspects of vapor barrier installation and what to consider when choosing a service provider. It provides information to compare local contractors and connect with experienced professionals in the area. The goal is to assist in making informed decisions and preparing for discussions with local service providers.